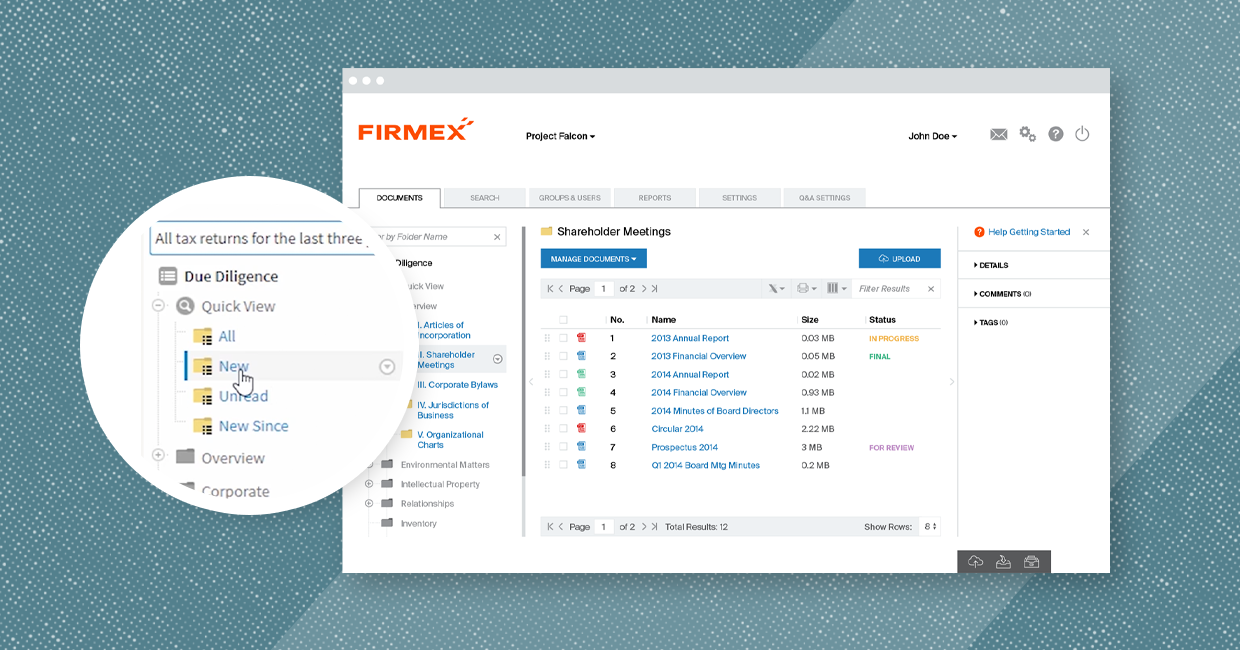
Do you use digital signatures in your business? If so, here’s is a fast, easy and automatic way to get those digitally-signed documents into your Firmex Virtual Data Room (VDR) for archiving purposes – with no additional costs or tech-heavy integrations required. Watch this quick video to learn how clients use this trick to save time in managing e-signatured contracts and agreements.
Wait, wait, what? I can email docs directly into my VDR?
Yes! Every folder in your Firmex Virtual Data Room can have its own unique “Email In” address. Any person or thing that you give that address to can then email in documents to that specific folder, and any email attachments will be automatically uploaded to the folder. Easy, right?
For this e-signature use case, you’ll set up just one “Email In” folder called “Signatures To Be Filed.”
To assign an email address to your folder, right-click the folder and select Edit Details.
Select “Email Attachments to Folder” and click the pencil icon to give the folder a relevant email. Click Save and Close to activate the email address.
Pro-tip: Make sure to test your “Email In” folder by sending an email with an attachment to its email address.
Set up a user for emailing in documents
In this next step, you’ll set up a new user that can email in documents to the data room. The email of the user will have to match the email address of your e-signature platform. For example, we use DocuSign as our e-signature platform, and every signed document comes from the address dse@docusign.net. So, the new user I am adding will have that same email address.
Start by creating a group for the user. For this example, we’ll call “Email In Signatures” and give it a Default Content Role of “No Access.” Then, give it access to your “Email In” folder.
Pro-tip: For extra security, set an “Expire Access” date in the past to ensure that the user cannot open any files.
Next, add a new user to the group. Here, we’ll use the email address dse@docusign.net since we use DocuSign.
Note: The email-in user doesn’t count as a Firmex VDR license!
Pro-tip: As an extra measure of security, do not send the user an invitation as you normally would when inviting parties into your data room. Just “Grant Access” and turn off email alerts.
That’s it! The user is now set up to contribute documents to your data room.
Add the folder’s email address to your e-signature provider
In this last step, you’ll instruct your e-signature provider to send a copy of the signed document to your Firmex VDR via the “Email In” address you set up above. As mentioned earlier, we’re using DocuSign for this example, but if you use a different e-signature provider, they should have similar settings. If in doubt, ask your IT team for help.
In my DocuSign template, I add the Email In folder address (signatures-30@capitalnextsite.firmex.email in my example) as a recipient and adjust its action to Receive a Copy.
Pro-tip: Make sure you test your new template to see if it works.
Recap: Storing e-Signed Docs in Your VDR is as Easy as 1, 2, 3
Using Firmex VDR’s “E-mail In” feature is a handy way to automate the archiving of important e-signature documents — contracts, NDAs, procurement agreements, you name it. And if you should ever happen to change e-signature providers, all of your signed documents will be safe and sound in their correct folders within your data room. To summarize:
- In Firmex VDR, set up an Email In folder. Set up a new user whose email address is the address of your e-signature provider.
- In your e-signature provider software, set up a rule that every signed document will be copied to the Email In email address.
- Send a document to be signed. When the recipient signs the document, a copy of the signed document will be sent to the VDR. You’ll receive an email confirmation from the VDR confirming the signed document upload. When you receive that notification, log in to Firmex and move the signed document from the “To Be Filed” folder to the correct folder in your VDR.
Congratulations!
Related Reading
Check out our how-to article on using Firmex VDR as a corporate document repository here.


